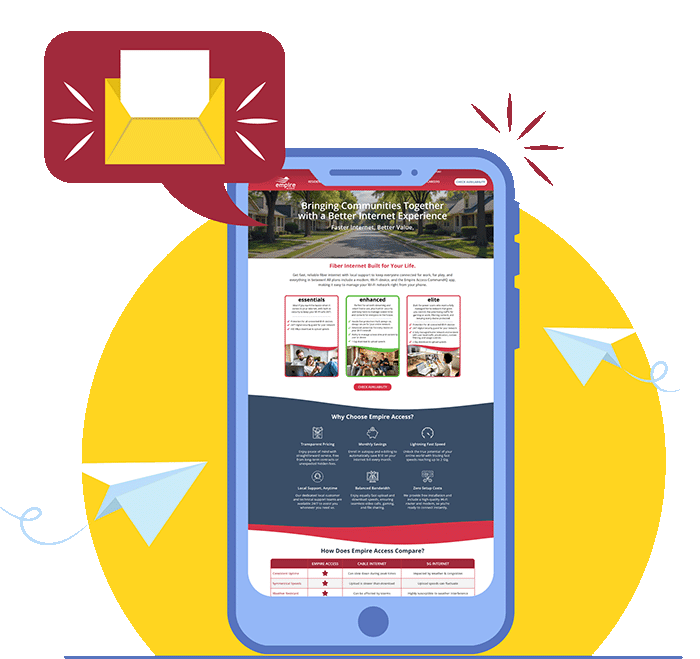
Deliver a better customer experience, capture marketing contacts and attract new customers via a brandable customer Wi-Fi portal.
- Tap Networks from the Home screen.
- Select Customer Portal network.
- Tap the toggle to enable the Customer Portal
- Tap Page Content to customize the Wi-Fi splash page.
- Enter the Network Name, Page Heading, upload a cover photo.
- Select Login Requirements. Select name and email address if you wish to be able to view a list of users of your customer portal.
- Select URL or Text, then add your terms of service for using your customer Wi-Fi.
- Enter the Button Text, such as “Connect”.
- Click Save.
- Tap Branding
- Upload your logos or an image and add colors.
- Click Save.
- Tap Preview Customer Portal to view your Splash page. Edit as desired following the steps above.
- Set Network Access Hours (see instructions on back panel).
- Add Network Restrictions to block objectionable content or applications.
- Tap Customer Portal Visitors to select the Login Retention Period. Login Retention Period indicates how often the customer will need to re-enter their information to connect and how data will be stored.
- Tap Email Customer List File to send a list of unique visitors over the login retention period to your CommandWorx email address.Tap Networks from the Home screen.


